Hey guys!
I hope you've all had a lovely weekend! This post is a knitting pattern, as promised, and it can be Easter related but it can be just a regular knit. It is for these tiny little bunnies! I altered the original pattern so that it suited me and you can do the same, if needs be.
These little bunnies are really cute and are only about an inch in length. You will need; some wool, in any colour you want; knitting needles; a tapestry needle to sew it up later; black/brown wool for the eyes and some stuffing, this can be excess wool or cotton wool etc. The needles you will need are US size 1 (2.25mm) UK size 13, but I think it would most likely work with a lot of different sizes, so long as the stitches are fairly tight so the stuffing doesn't show through when it is sewn up.
Abbreviations:
st - stitches
kfb - knit front then back
k1 - knit 1 stitch
bind off - cut the remaining wool (leaving a long-ish tail) and pass the end of the wool through the stitches on the needle and pull tight to bind it
k2tog - knit 2 stitches together
To knit front then back, you need to do a regular knit stitch but before you slip it off the needle, knit into the back of the stitch. This can be fiddly if your stitches are tight but if you practice then it gets easier to do.
To knit two together, you need to do a regular knit stitch but instead of just going through one loop, you need to go underneath two instead.
This is the pattern, but feel free to change it in any way you like.
The body:
Cast on: 6 st
Row 1: [kfb] 6 times (to get 12 st)
Row 2:[kfb, k1] 6 times (to get 18 st)
Row 3: knit
Row 4: knit
Row 5: knit
Row 6: knit
Row 7: knit
Row 8: knit
Row 9: [k2tog, k1] 6 times (to get 12 st)
Row 10: [k2tog] 6 times (to get 6 st)
Bind off
The ears:
Cast on: 2 st
Knit 10 rows
Bind off
To make up the rabbit, sew the long ear through the middle of the top of the head side of the rabbit (the end where you bound it off). Each end should stick through, so that they look like little floppy ears. You can sew the ends in at this point.
You then need to sew on some eyes, two little black lines below the ears, you can also sew a little pink nose on too. This will make the little face, you may have to practice a few times as every time I have tried, it has ended up looking slightly creepy!
You also need to stitch on a little tail at this point, you just have to stitch it so it is vaguely in a circle but it doesn't really matter.
At this point, you need to insert some stuffing or the excess wool to pad it out and stitch up the bottom with the needle. The little bunny should be finished now.
I think these bunnies are really cute, the two that I have made both ended up different sizes, even though I did all the same things and used the same sized needles!
Until next time
Grace
X
Hey guys!
I hope you have had a good week! Mine has been very long and tiring but at least I've finished the term and it's the Easter holidays now.
This post is another how to, it's how to knit. I'm sure many of you are very experienced knitters but for those of you out there who want to start but have no idea how to; this is the post for you. I'm very sorry if you can't understand it or the pictures are a little blurry, I had no idea how to take them and there are some stages that are a little tricky to describe. I wanted to do this post because it means that I can show you a really cute pattern that I found this morning.
To start off, you will need a pair of knitting needles, some wool and some scissors for the end. Both the needles I used were the same size but one was a different colour so it is easier for you to see the difference.
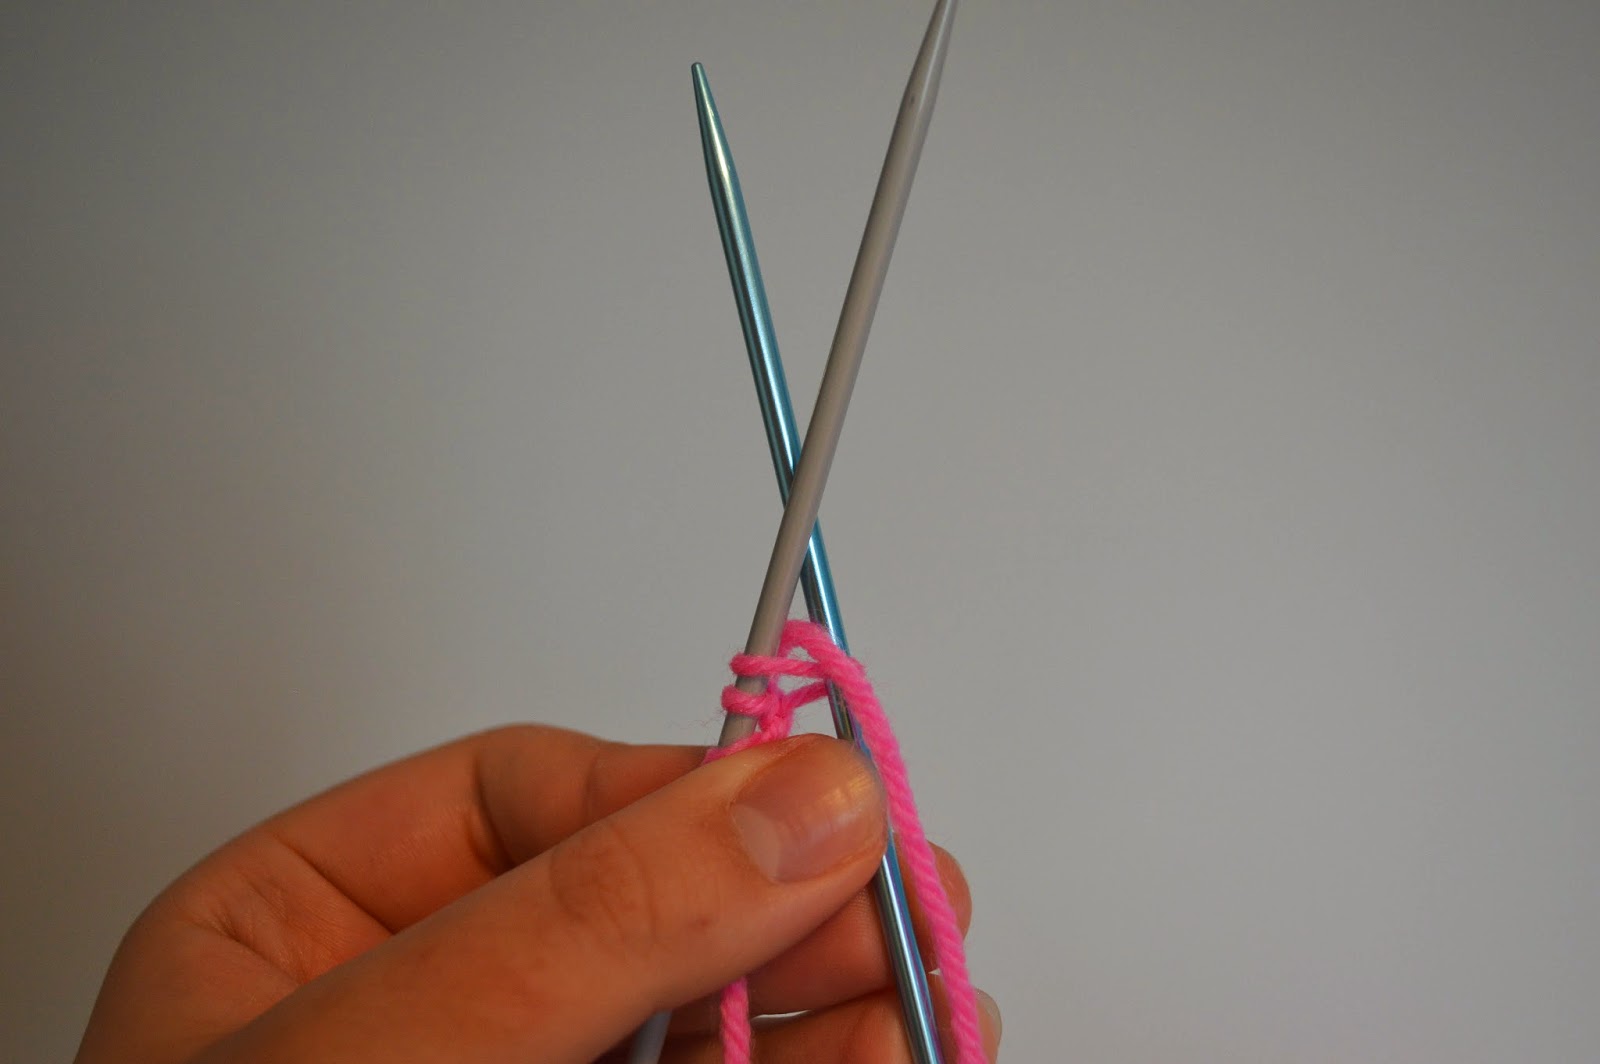
The first step is to cast on. Tie a loop knot but not pull it tight until it is on the needle, this is the first stitch.
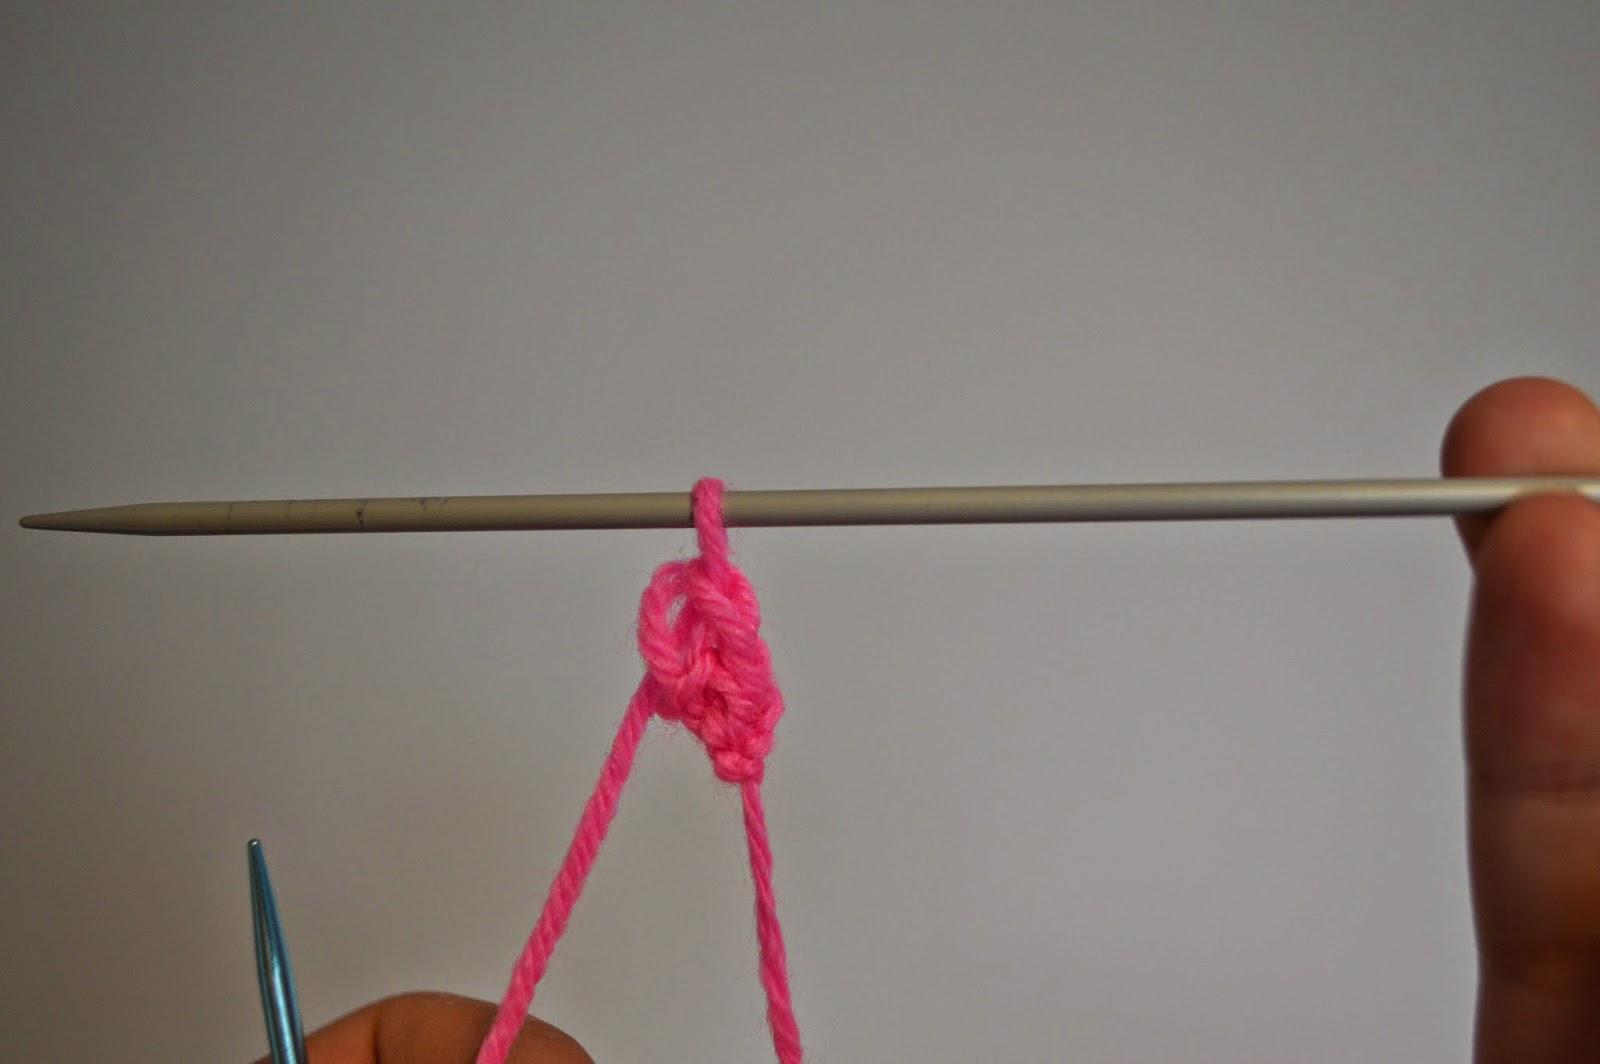
You then need to push the 2nd needle through the stitch and wrap the wool anticlockwise around the 2nd needle. Then, twist the needle so that you can slip the 2nd stitch onto the needle. You can repeat this step as many times as you want to create as many stitches as you need. I find that when I cast on, it is easier to push the needle between 2 of the stitches on the needle and then cast on that way, but I'd recommend practicing the casting on several times.


Next comes the actual knitting. Holding the needle with the stitches on it in your left hand, push the needle with no stitches on it through the loop of the stitch closest to the open end on the needle. Then, loop the wool through the gap (anti-clockwise). Push the end of the needle over the new bit of wool and through the loop and then pull the stitch off onto the old needle and onto the new one. This is just a plain knit stitch but there are plenty of other variations you can do. Repeat this until the end of the row and then swap the needle with the stitches on it into your left hand once again.
Once you have finished your piece of knitting (whether you are practicing or following a pattern); it is time to cast off. This can be done by knitting the first 2 stitches onto the new needle and then slipping the stitch closest to the closed end of the needle over the other and off the needle. Then, knit another stitch and repeat the slipping over of the furthest stitch.
When you are left with only one stitch left, cut the wool (with a few inches extra) and then thread it through the loop of the stitch. Pull it tight and your knitting is now cast off, you can then sew in the excess wool on the edges to neaten it up.
I hope this post is useful in some way! I tried to explain the best I could but explaining how to do things doesn't happen to be my strong point! However, now I get to post about the cute pattern I found!
I hope you have a lovely rest of the weekend, wherever you may be!
Until next time
Grace
X