Hey guys,
Following on from Sunday's nail design post, here are the other 3 ideas I had. You could use all of these ideas (and more) at once but if that isn't really your style then you can use one design as an accent nail with the rest painted a plain colour.
1. Spooky eyes
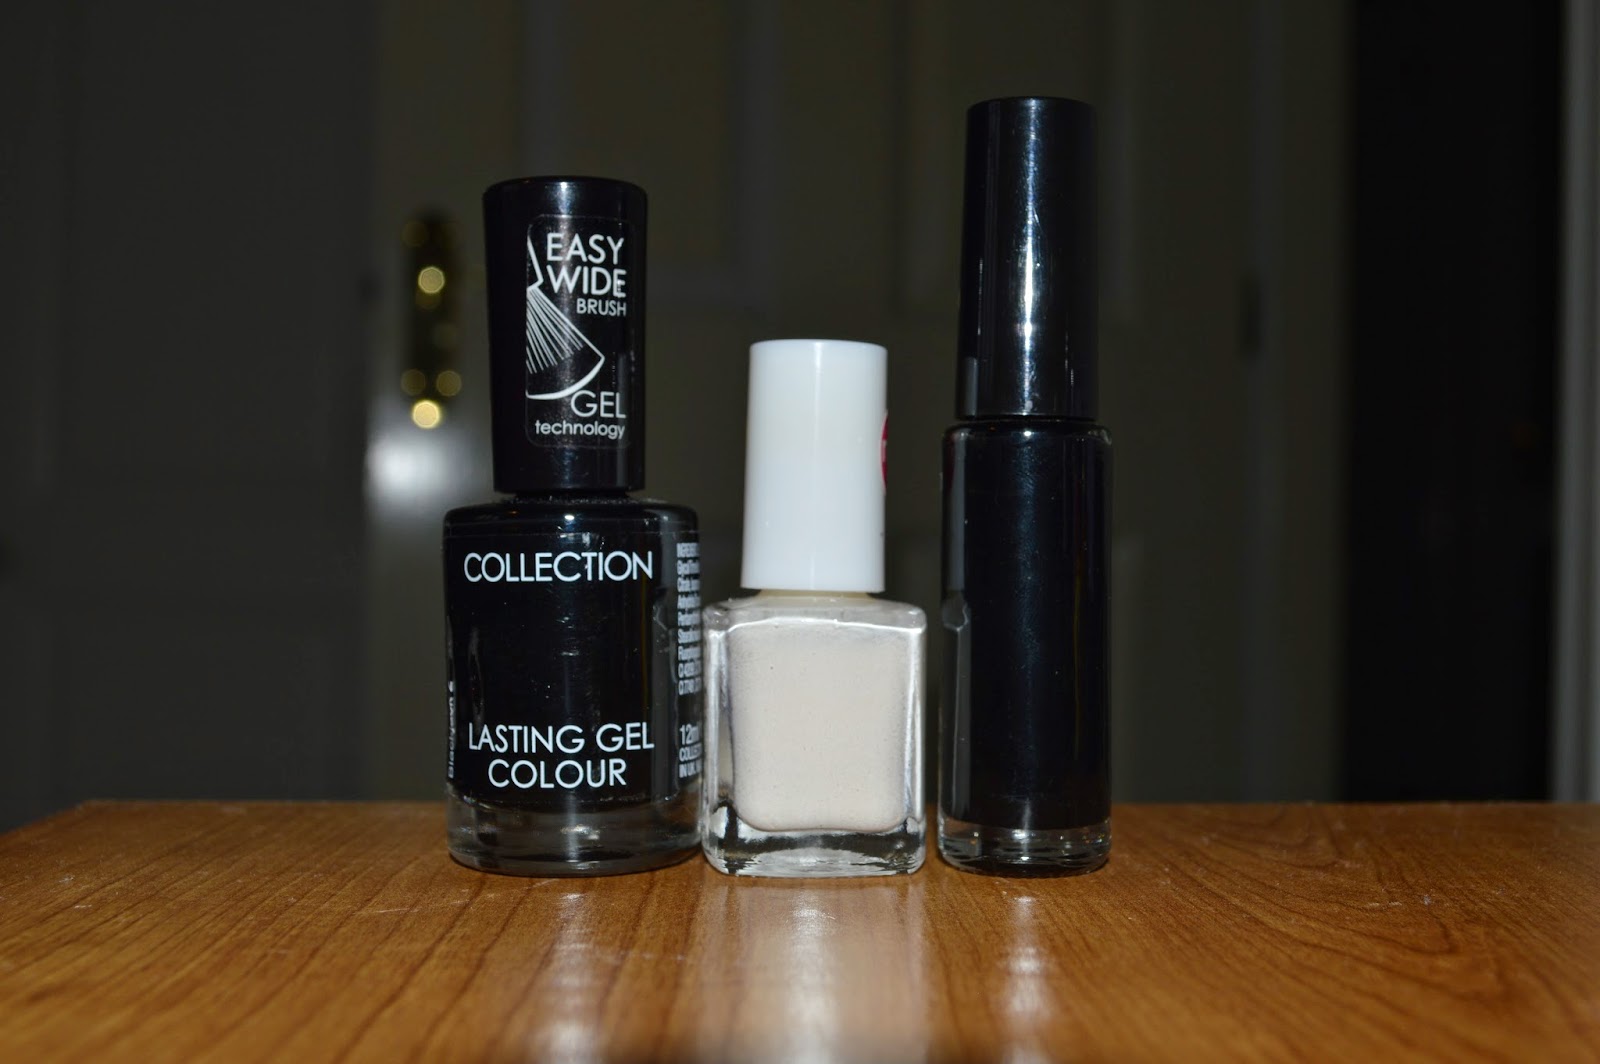
First, you need to paint the nail completely black. Depending on the quality of your polish you may need to do 2 or more coats.
After the black has completely dried, paint 2 small-ish dots of white on. You can do more than 1 pair of eyes if you wish! Add 2 smaller dots of any size inside the white as pupils.
You could use red for a vampire look or yellow for a cat!
2. Pumpkin face
This nail is probably the one that you can do the most with. You can do any sort of pumpkin face after you have the base layer down!
Firstly, paint a base coat of orange and add a small 'tuft' of green at the top. You can then add any type of face that you wish or just add some thin black lines to make the nail into just a plain pumpkin.
3. Candy corn
This Halloween tradition is more American I think but if you want to have a candy corn nail, this is how.
First, paint a complete layer (with possibly 2 or 3 coats) of yellow to create the first segment.
Then you need to paint a partial layer. You need to not paint the whole nail, only about two thirds of the nail. This layer needs to be orange and then the final layer needs to be white. The 3 colours can be in this order or white, orange, yellow depending on which way you want it to be. You need to paint the white layer only about a third of the way down the nail. You can tidy up the edges or draw a triangle around the colour to make into more of a candy corn shape!
Don't forget a top coat! :)
Until next time
Grace
Hey guys,
This idea is a little different as I don't think many people really send each other cards at Halloween although it may be fun to send one to a relative or friend if you know they love the holiday! There are quite a few different designs you could put on the front but I thought this one was cool because it had a different texture and had a cool look!
You will need:
Card
Cotton wool
Black felt tip pen
Glue
You first need to fold the card in half. You can use whatever size card you need but I chose A4 so that the card was a moderate size.
You then need to draw out the shape of a ghost onto the card. For this you can use pen or pencil and it needs to take up quite a large proportion of the card. You could also write 'Happy Halloween' underneath or just leave it plain.
You then need to cover the whole ghost shape with glue and then cover it with cotton wool. Even though it makes the ghost fluffy, it gives it a kind of 'wispy' look! You can use stickers to add a mouth and eyes or you can just draw them on with a pen.
To change up the image on the front of the card you could add a bat (like the ones here) or you could draw any other image on the card.
Until next time
Grace
X
Hey guys,
This decoration idea may be slightly pointless as you could just find some images of bats on the internet and print them off but if you want to create your own, unique decorations then this is the post for you!
You will need:
Scissors
A pencil or pen
Possibly a rubber
Paper or card
Paint or a black felt tip pen
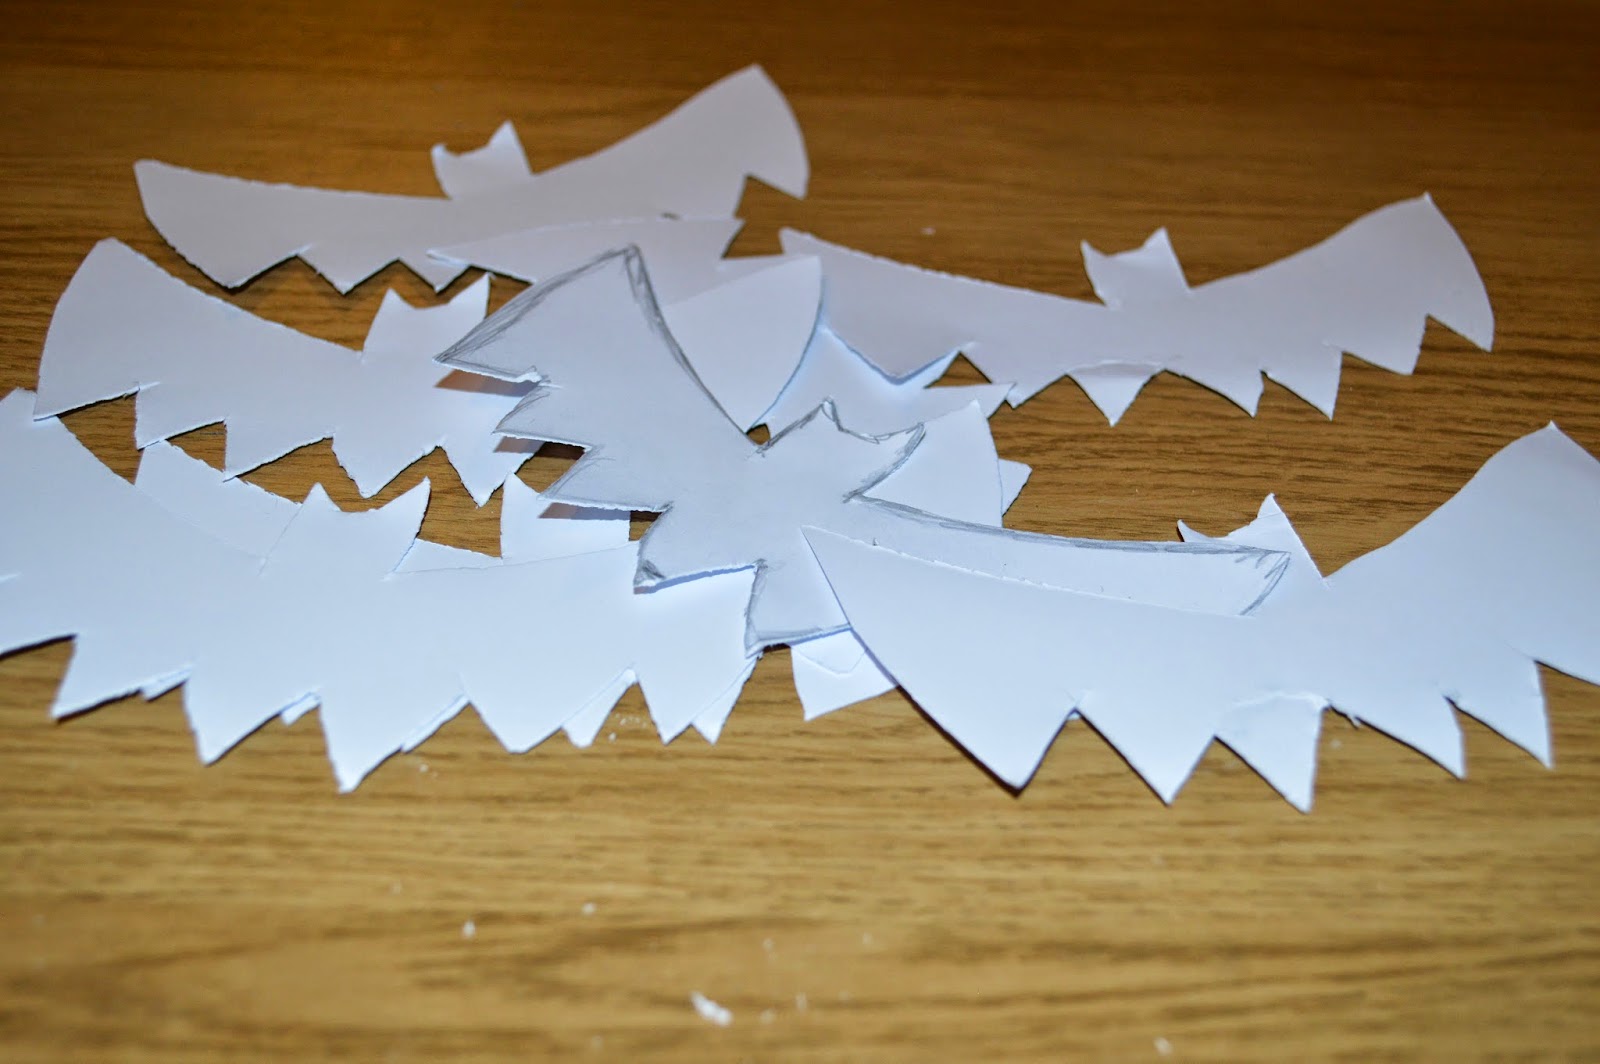
Using a piece of paper or card, fold it into eighths (or segments that are the size you need).
Then draw a bat outline on the paper and cut it out while the paper is still folded over. This will mean that all of the bats are slightly different shapes and sizes but it makes it even more different and unique for each person.
To make them more 'creepy' you can colour them in black with a pen or paint them.
You could stick these on a window or in a group on a wall to decorate but you could also use some string and wool to create a row of bat bunting.
Until next time
Grace
X
Hey guys,
As promised, there is another post today and it is for some Halloween-y nails. This may not thrill those of you who prefer the DIY ideas but there will be more decoration ideas up tomorrow! In this post there will be 2 ideas and then in a post later in the week there will be 3 further ideas!
1. Skeletal face
First up, to create this creepy face, you need to do a layer of white. Depending on the quality of your nail polish, you may need to do 2 or 3 coats! You can also put a base coat on first (you are actually supposed to do this) but I never do.
Next you need to add the eyes. They are basically big blobs of black nail polish and they don't need to be exactly the same size or shape! You can use a tooth pick, dotting tool or a nail art pen to do this. If you have a really steady hand you could just use the brush from the nail polish pot but I find it easier to use a more delicate tool!
Now add 2 tiny 'pig-like' dots for the nose and add a curved line to start the mouth. To make this design more creepy you need to add little lines crossing the mouth at random intervals to make it look like the mouth has been sewn up! This face is supposed to look like Jack Skellington from 'The Nightmare Before Christmas' but it doesn't matter if it doesn't!
2. Witches Hat
For the next idea, the picture doesn't really look very detailed but it is supposed to be a witches hat.
To do this, paint a bottom layer of any Halloween-y colour that you fancy and leave it to dry. I chose 'blue jeans' from top shop as it has a kind of shimmery 'night-ness' about it! (I forgot to take a photo of just the base layer *oops*)
Then, you need to draw the outline of a witches hat in black, again, you can use any means for this but I used the dotting tool I have. You can make it any style you like but I went for the original crooked style.
I then added a purple strip across the brim as a belt, to add a bit of extra colour into it! Don't forget to add a clear top coat to protect the design!
I hope you like these nail designs and they may add to any Halloween costumes you are planning to wear! There will be another post tomorrow!
Until next time
Grace
X
Hey guys,
I decided this week that, since Halloween was coming up, I was going to do a quick DIY post each day leading up to it! Some will be decoration ideas and there may be some nail designs too!
The first one was this idea that I found on Pinterest but it was actually made from plastic bin bags. However, I decided to make it from paper as it was slightly easier to find and draw on.
To make these spooky creations you will need:
Paper or bin bags (whichever you fancy)
A pencil or pen
Scissors
A compass or something to draw around
First, you need to draw a large circle on your choice of material. You could even use tissue paper or any other type of fabric. It needs to be quite big so that it is less fiddly when you try and cut out the insides.
Then cut it out and fold it into quarters. Fold it in half again.
This next bit is probably the most fun! you need to draw a design for a spider web on the segment of circle so that when you cut it and open it out it looks really spooky!
For the cutting part, it can be quite fiddly and difficult so, if you have a craft knife (or Stanley knife) it may be easier to use that! Don't worry if it doesn't look perfect, it is all about making each one unique! When do you ever see two spider webs the same?
You can then unfold it and, voila! You have a spider web decoration!
You could string a few together and make some bunting, paint it and add it to a costume or even cut out a little spider to hang from it and add some cotton wool for an even spookier finish! I hope you guys like this idea and use it to add some Halloween flair to you houses this year!
Until next time
Grace
X