Saturday, 22 August 2015

Ted Baker Nail Polish Review

Hey guys!

I'm really sorry I forgot it was Saturday! I've gone the whole day thinking it was Sunday and it was only when the post came that I remembered! You can always tell when I've dipped into my back-up post photos when they have snow in them!


I've actually been wanting to do this post for a while because the nail polishes are really good and I've had them for a couple of years. There are 4 in the set I have, gold, black, sparkly silver and a really pale pink. 


I'll start with the box, it's a really pretty pink all over but the lid has some very pretty designs on the top and inside. I'm pretty sure it's made of aluminium and is quite light without the polish in it so I may end up using it for something else. 


The polishes themselves are pretty runny and originally I thought this would be a bad thing, but it actually helps it go on. All but the silver one require 2 coats but it dries pretty quickly so it's not the end of the world. 2 coats of the silver would give a very very sparkly finish which is still cool but sometimes you just want it a little more low-key. The colours are a perfect set in my opinion too. The pink is perfect as an everyday wear and the black, silver and gold are great for a more flashy look. 


They're all-round great to be honest! 

I hope you all have a lovely week!

Until next time 
Grace
X

Saturday, 15 August 2015

Salt and Watercolour

Hey guys!

I hope you have all had a great week! I hope if any of you have just received your A-level results, that you got the grades you were hoping for! It's GCSE results day for me next week! I'm not overly excited or nervous yet, which I guess is good! For now! 

This post is another that may or may not work! I'm feeling a little bit skeptical looking at the papers in front of me, they're currently drying and should be ok by the time I've finished writing this. 


To try and create this art, you will need: water-colours, lots of water, salt, a paintbrush and probably some thicker paper because I'm not entirely sure if it works on regular paper or not! Thinking about it, I probably should have tried one on each type instead of doing both on water-colour paper! 


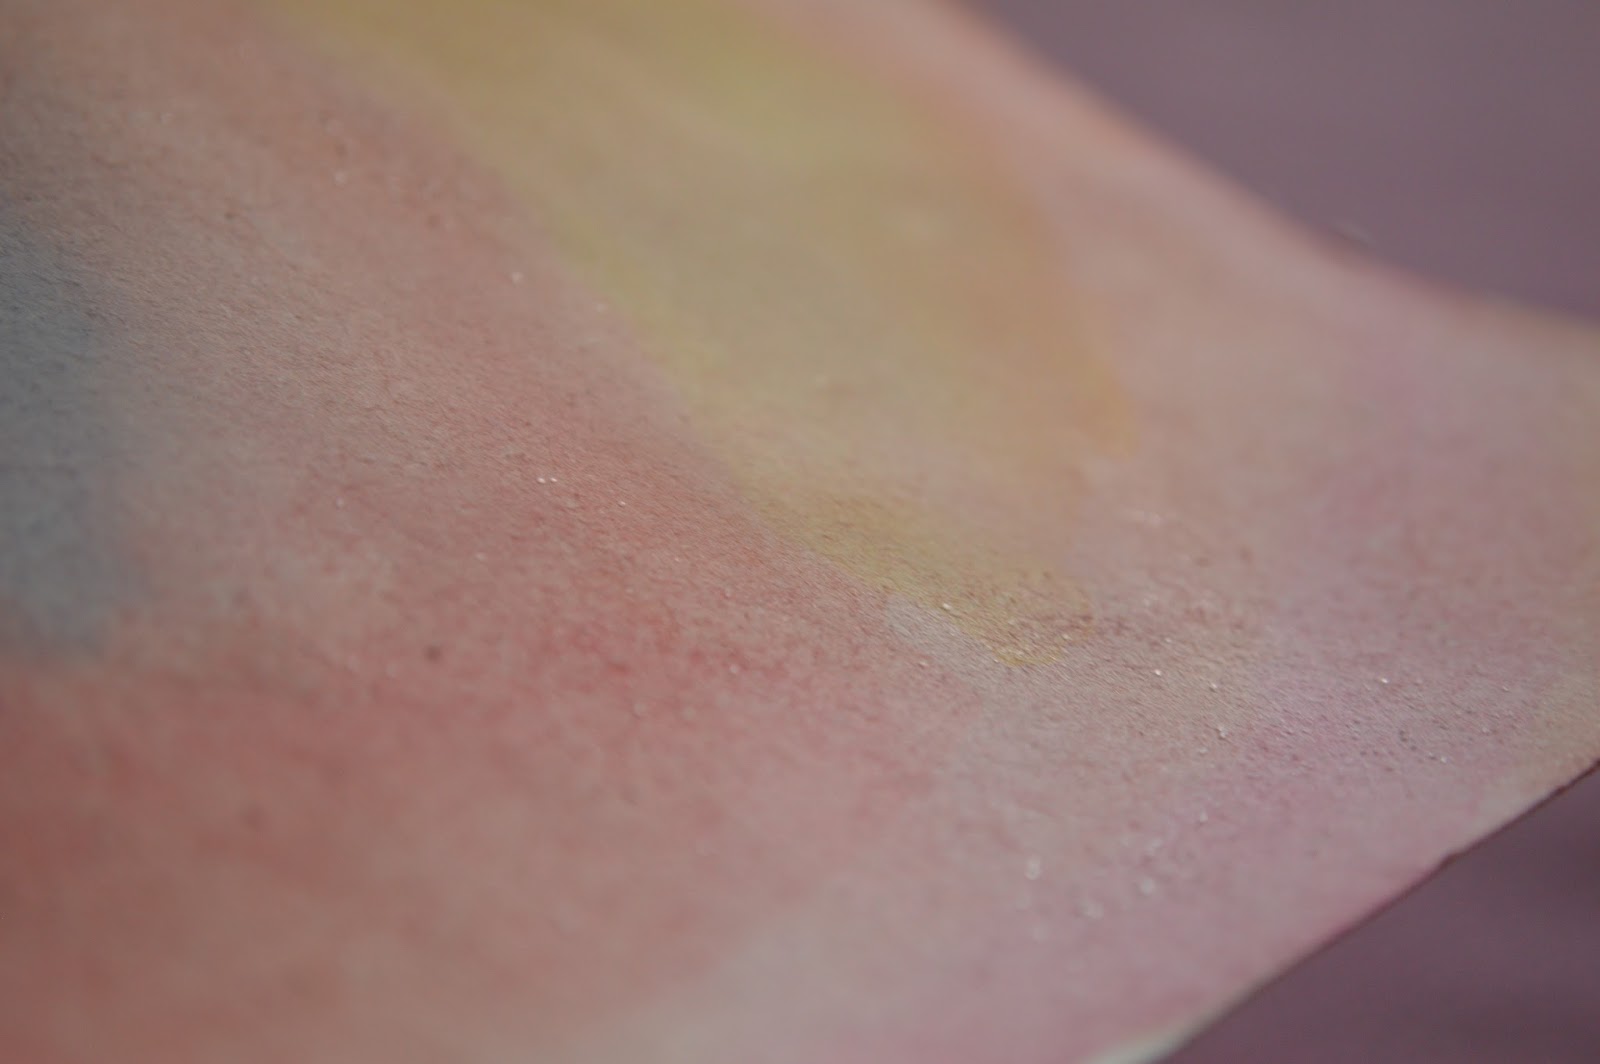
When you paint the water-colour onto the paper it needs to be very watery. You can make the colour as bold as you like but there has to be quite a lot of water for the salt to absorb. I painted out my patterns and sprinkled salt over it but I think I may have put too much on! I watched a video afterwards of someone else trying it and they only put a small sprinkle over it! At least I know what it should kind of look like from the video though!


You need to wait until the paint is completely dry to brush the salt off afterwards, otherwise it won't come off very easily at all and will clump together. Once you do brush it off, there should be a cool pattern caused by the salt but I'm not sure my photos will show anything like this! It looks pretty cool with the salt on top too though! 

When the paint was dry and I had brushed all the salt off I was slightly disappointed! There are some patches that look 'coral-y' like the other people who have done this' art but mostly it just looks slightly faded in areas. I quite like how the colours have mixed slightly but I was definitely expecting way more! However, the page is now very textured, there are bumps and lumps galore!


I hope you guys have a great week! If I have enough time I may do another post on Wednesday but I'm not overly sure what I'm doing yet this week so I can't guarantee anything. 


Until next time 
Grace


Saturday, 8 August 2015

Review: Matched by Ally Condie

Hey guys,

Have you ever read a book that you think you should love but just don't? Matched is exactly like that for me. It just didn't excite my imagination and make me want to never put it down...


Don't get me wrong, Condie is a very talented writer and the language she uses flows brilliantly, but the story just didn't grip me like the other books I read do. The first few pages were good enough that it made me want to take the book away with me but that was pretty much where it stopped. *I'm really sorry if you love this book!* The plot itself, I was expecting to be riveting because when I read the back of the book when I brought it, I thought it actually looked quite good. However, I think the last line on the back of the book, 'And that's when her whole world starts to unravel...', gives the wrong idea. Her life doesn't completely fall apart, there's a few things that happen, but they're not explained enough for me to actually think that they are all that bad. 


I found I wasn't reading the book as quickly as I usually do and just didn't really care what happened. I hate having to say that though, because the writer has put so much time and effort into it and, in this case, Condie brought out a further 2 books in the trilogy, which I'm not at all sure whether I should read and see whether they're better than the first!  

I've read a few reviews of the book from other people and, although there are some really good reviews, there's also quite a few like mine. However, some of them said that the last 70 or so pages were great but I just don't really feel that! There's probably about 20 pages in the whole book that actually completely had my attention but as the whole thing is 366 pages long, that isn't really good enough for me. I'm kind of glad I didn't pay £6.99 for it, and instead found it in a charity shop for about £2! 

Even though I didn't particularly like this book, you might, so I'm in no way saying 'don't read it!' If the story line appeals to you, I'd suggest giving it a go! Sometimes it takes the slightly poor books to make you really appreciate the good ones!


Until next time 
Grace
X

Sunday, 2 August 2015

Nail Polish Organisation

Hey Guys!

I'm back from my holiday now! It was absolutely fantastic! I think I'll probably do a couple of posts about some of the places I visited, but they'll probably be quite spread out over the next few months. It'll probably take me that long to sort all of my photos anyway (there's over 1400 of them)! Our flights was delayed both on the way out and on the way home so ended up getting to the house we stayed at and back home at about 2am both times! 

I'm sorry this post is a little late! I had a lot to do yesterday and I realised I wouldn't have much time to write this post (It would have ended up slightly rushed!). I got the idea for this post, yes, you guessed it, from Pinterest! I always forget to go on my blog account mostly because my phone is linked with my personal account! I should probably spend a lot less time on it than I do though! There's just so many good ideas! These were actually 2 separate ideas but i thought it would pad out the post a little more if there was more than one part. 


If you're like me then you will have a LOT of nail polishes that you just don't know what to do with! I used to keep some in a drawer, some in a jar, some in a small box and generally others everywhere else! They're one step away from falling out of my ears! Ok, so maybe not that many, but there's still a lot.

The idea is to cover a shoe box with wrapping paper/wallpaper/just regular paper and decorate it however you like, to keep the polish pots in. My box is just covered in white paper at the moment but there's not much point in me decorating it until I've re-covered it, because my cat chewed up one of the corners! The box I found was the perfect size! I was completely expecting it to be too big as well! The box makes it easier to store all of the polishes, you can use one (or more) that fit into specific paces in your room but I think mine will either be kept on my shelves or in a drawer! ~I just had a sudden brain wave to do the same with make-up, so I'll have to remember that!~ 


My other idea I found was to use a couple of pages in a note book (I chose to use my blogging book as I use it a lot) and paint small swatches of each polish and then number them, also numbering the bottles at the same time. They're not completely in colour order but I tried to! Some colours look completely different when they're in the bottle compared to when they're painted! 


25 is so light that it doesn't want to focus in any of the pictures!


Using my little book, I can tell you that I wore number 21 to Prom with some of 49 on top. It helps me to see the colours more clearly and then I can match the best ones together. This is probably one of my favourite ideas and I've been planning to do it for ages! I always end up starting new projects when I'm halfway through something. This time, I was halfway though unpacking when I decided to start doing all of the swatches! Sometimes I get quite distracted! *oopsies!*

Anyway, I hope you guys have a good few days!


Until next time 
Grace 
X

Wednesday, 29 July 2015

Chocolate Cookies

Hey guys! 

So today is the day we fly home :( but it won't be until about 11:00 tonight. I hope you've liked the posts from the last few weeks! Hopefully I should be able to do a few different DIY posts throughout the summer that are slightly bigger. 

This recipe is originally Tanya Burr's and I give complete credit to her as they are absolutely amazing! Here is the original recipe. I altered it slightly just to add my own twist but the basics are pretty much the same. 


She says the recipe tend to make 10 cookies but I'm not so sure about that because everytime I make the same amount and I end up with different numbers of cookies every time.  
200g butter
150g caster sugar 
150g soft brown sugar 
1 large egg
275g self-raising flour

Optional:
cocoa powder mixed with a little milk to make a paste 
a bar of milk chocolate (or buttons)
a bar of white chocolate (or buttons)
Raisins or sultanas

I tend to bake them at 180 degrees Celsius for about 13 minutes which is slightly longer than the original recipe but the temperature is lower. If they come out still very soft though, you may want to put them in for slightly longer until they're only slightly soft. 

A variation I did of this was to not add cocoa powder and put raisins or sultanas in instead of chocolate. This makes them slightly flatter for some reason when they cook but still soft and chewy. 

Myself and my family have all agreed that these cookies are by far the best ones we have ever had! They are so delicious and the brown sugar just adds a little extra soft and chewy-ness that otherwise caster sugar wouldn't.

Have an absolutely wonderful few days guys!

Until next time 
Grace
X

Saturday, 25 July 2015

DIY Multi-Frames

Hey guys! 

This idea came to me when I saw how much these frames usually are in shops! I knew I had a load of old wooden frames and luckily, had some ivory paint left over from when we decorated my bedroom last year. I'm really sorry that the photos are such poor quality! The lighting in my room just didn't want to co-operate with me and they were taken a little quick!

I originally had some stickers on the frames so sanding them down was the first port of call to make sure the paint would go on smoothly. They all ended up looking pretty good afterwards so I laid out an old towel in the sunshine to paint them. (The towel ended up being a really good idea as I managed to spill some of the paint and the frames had paint on the undersides from where it went over a little). 


The frames were originally a light wood (but I didn't think to take before photos!) and can be brought from pretty much any hobby shop or online. The smaller frames were all the same size but all different thicknesses. I think this actually added more to the overall look of the frame in the end because it made it have a few different levels. I also found some larger frames that someone had given us a while ago and added one into the centre of the frames. Originally, I was just going to glue the smaller frames together but after I saw what the larger one looked like, I decided it looked a lot better! I had to do about 3 coats on all of the frames so that they were all the same colour and the paint was even. They came up looking pretty good actually! 

I then laid them out on the table/my bed to decide how they look best and used my glue gun to glue them all together. I think they came out looking pretty good and it definitely saved me money when it comes to it! It also creates a nice DIY touch to my room. 


Now, all I have to do is fill the frames with photos, put it up on the wall and the job is done! This post was a lot shorter that I was originally expecting! Sorry about that, but hopefully *crosses fingers* Saturday's post will be a little longer!

Have a lovely few days!


Until next time 
Grace
X

Wednesday, 22 July 2015

Zoella 'Blissful Mistful' Review

Hey guys!

Welcome to another lovely Wednesday! 

This body mist was something that I wanted to buy for quite a long time! I've watched Zoe's YouTube channel for years and when she released the range I automatically wanted to buy it but whenever I went to Superdug, they were sold out! It took until now (when she released the new range) for me to buy it! However, I thought it would make a good review. 


This body mist has such a beautiful smell! Fruity, floral and fresh. It just adds an extra lift each morning when I spray it! It isn't overpowering in any way but holds it's scent very well! At first I was a little skeptical about spending £8 on it but turns out, I'm using it a lot slower than I first expected! It's only gone down a little bit from when I first bought it and now, which is great! 

The bottle is also really cute! The dots on the back can be seen through the bottle which really adds to the pretty-ness of the liquid inside. I absolutely love the colour of the lid and how it ties in with the colour of the writing. It is just all super adorable and I love it!

Have a lovely few days guys! I really can't wait for you to read next Wednesday's post and I hope you enjoyed last Saturday's post!


Until next time 
Grace
X