So today is pretty special for me, it just so happens to be exactly a year since I started writing this blog! Last February I began to think about whether I could write something that people would want to read, and two months later I took the plunge and wrote my very first post! I've come a long way since that first 'hey there' in my 'welcome' post and at first I didn't even tell my family, it was just my own little space where, if I messed up, it wouldn't matter but now a few more know about it! (I know you're reading so, Hi!) It's been such an amazing time and I've loved finding new things to write about each week, I really can't wait to blog some more awesome things!
I figured I should make this post pretty special so it's another DIY one. I spotted this idea on Wantfeed yesterday (if you follow me on twitter, this is what my tweet was about) and they're these cute little candle holder jars from Etsy. I was pretty sure I could make a pretty good replica (whether it would work or not was another matter!) of them so decided to give it a shot, here's how if you want to make some too! I think they would look so cute on a shelf or to give to someone as a gift! It doesn't even have to be a candle holder, it could be used to hold make-up brushes, pencils or even a plant! There's a whole world of possibilities!
You'll also need; PVA glue, some string, beads (my ones are old glass ones I found in a bead box we have) and an extract from a book.
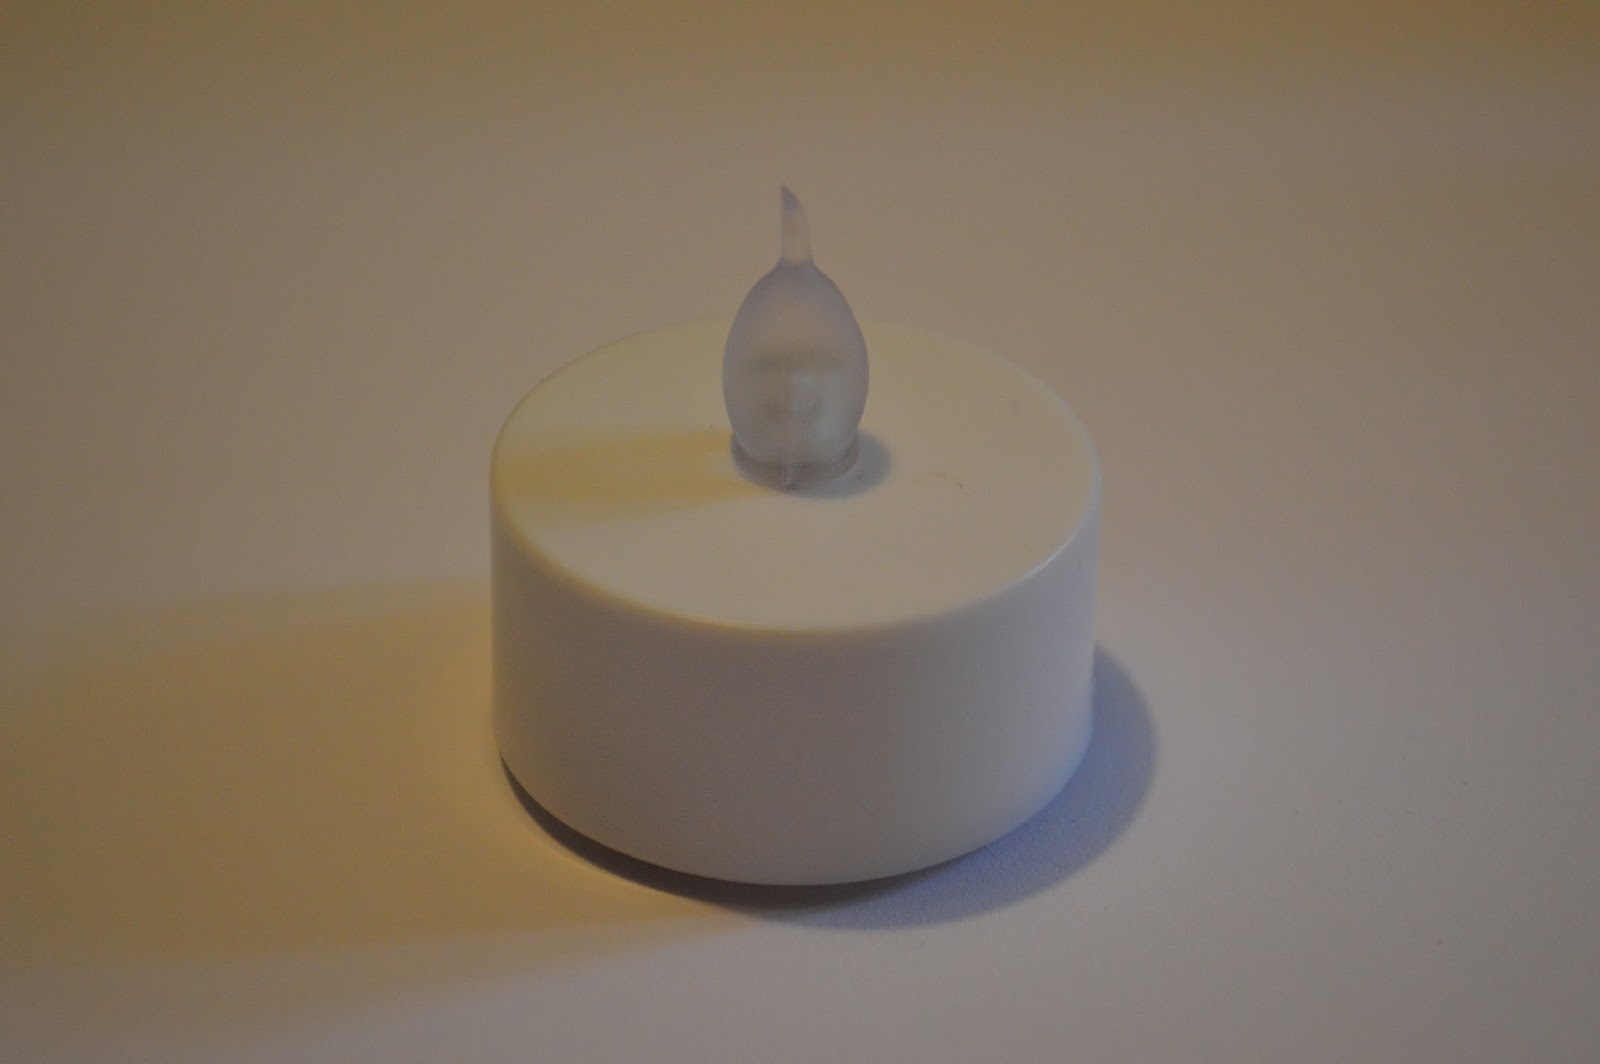
If you're using it as a candle holder then the light should shine through the paper to create a soft orange glow (mine didn't work that well as it was only a battery LED tealight!
Jars seem to be in a lot of my blog posts, I hope you aren't tired of seeing them! Have a wonderful weekend and week, and I will see you again next Saturday for my next post!
Until next time!
Grace
X


No comments:
Post a Comment