Wow! It feels like ages since I last posted! Sorry there wasn't a post last week, I was really busy revising for my exams and didn't have any time to take any photos or write anything. But, they're all done now so I had more time to write this!
This week's post is about making dream catchers. Dream catchers originated in Native America and they were made to protect a sleeping individual from negative dreams. The positive dreams could fit through the hole in the middle and slide down the feathers to the person below but the bad dreams would get tangled up in the web and disappear when daylight came.
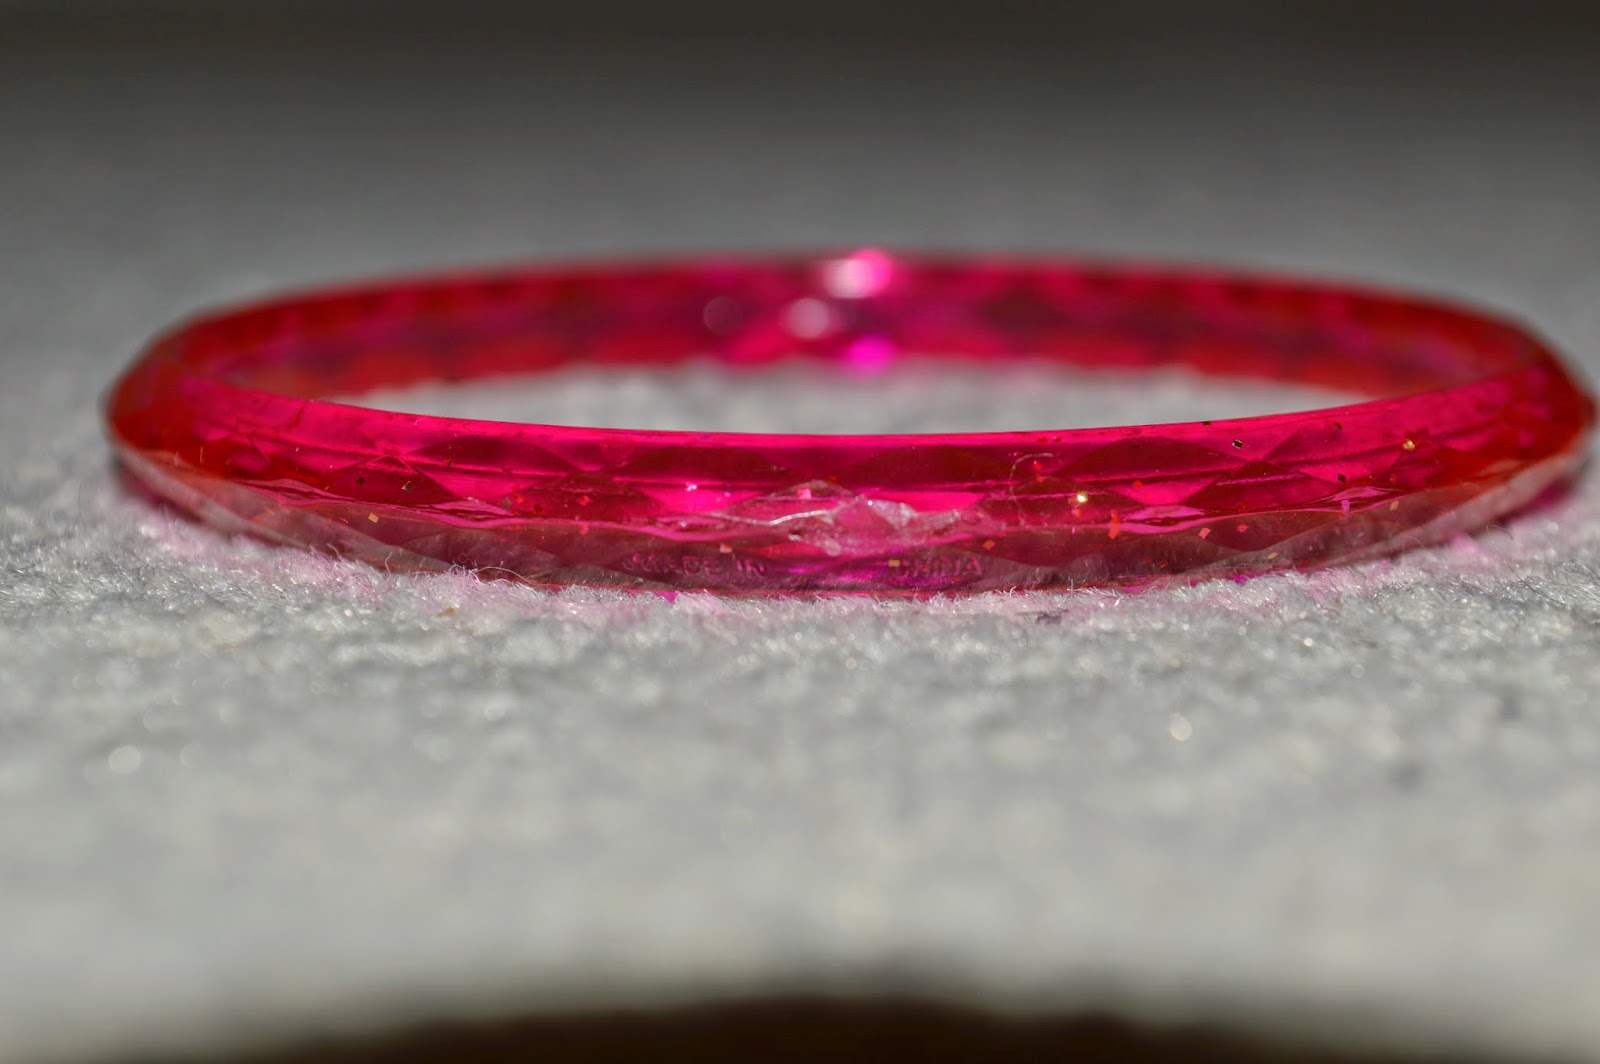
They are usually made from a hoop of willow and decorated with beads or feathers. For my dream catcher I used an old bangle that is slightly sparkly so it adds a bit more decoration. I also used some black embroidery thread (but any type of string or cord would work), I wanted to use a colour that stands out against the hoop so that is is easier to follow each step. You will also need some beads or feathers (or anything else you want to decorate it with).


You then need to pass the thread along, in front of the hoop, around the back and through the gap between the hoop and the thread.


Repeat the last step all the way around the hoop and then pass the thread through on the next line of the hoop. You can add beads at this point if you like and you can add as many or as few as you like.


To finish off the web, tie the remaining thread off at the side so that is is hidden.

You can also add cord hanging down from the hoop with more beads and feathers attached to it. The decoration stage is all a matter of personal preference.

Until next time
Grace
X
No comments:
Post a Comment