Hey guys!
This post had to go up a little later today as it took me ages to make the DIY! I was expecting it to only take a couple of hours too! *oopsies* While browsing Pinterest, I saw a few ideas that involved frames, including ones around light switches and ones that had hooks for keys inside. As soon as I saw the one for keys, I knew it would make an awesome blog post! I'm so excited to show you! It would make a perfect present for someone, or just a really nice piece for your wall! What makes it even better is that it's practical, so you'll never lose your keys again! I'll go through what you'll need to make it first and then the steps of how I made it.
A frame is key (get it? ;) I know, lousy joke!), This gold one, I found in a charity shop for £3. It had a slit in the side for putting money into as it was originally a money box frame, you could put a photo of something you wanted to save up for behind and then put the money in. It's a pretty cool idea, it just wasn't what I wanted to use it for! I loved the detailing though, it was also absolutely perfect for the look I wanted!
You'll also need; some hooks, paint of your choice, paintbrushes, an old towel and kitchen roll (paper towels) to put the brushes onto when they have paint on them. For the paint, I used what was left over from when we painted my room (antique ivory) but if you would need to buy it, tester pots may be easier, as they're smaller and less expensive than buying a big pot for a small project. Optional things include; polyfilla, a screwdriver, sandpaper and masking tape.
I had to sand down one of the edges as part of the paint had started peeling off but it also helps to make the edges smooth and easy to work on. I also needed to fill the hole in the edge with polyfilla. so I covered one end with masking tape to hold it in place, and filled it in layers. You'll want to sand the filler down once it's dry just to give it an even surface; that is, unless you want a more uneven look. Wipe down the frame afterwards with a slightly damp cloth to remove any dust left over.
The choice of paint and colour is up to you, I just used leftover emulsion in Antique Ivory. I think it took about 3 coats to get it not to be patchy but I did have to find a smaller paintbrush to do the details as the big one just wasn't working at all! As the paint underneath was gold, it showed nicely when I sanded the details and edges to give the frame a more 'distressed' look. You don't have to do this but it adds a little more of a 'loved' touch to it, in my opinion.


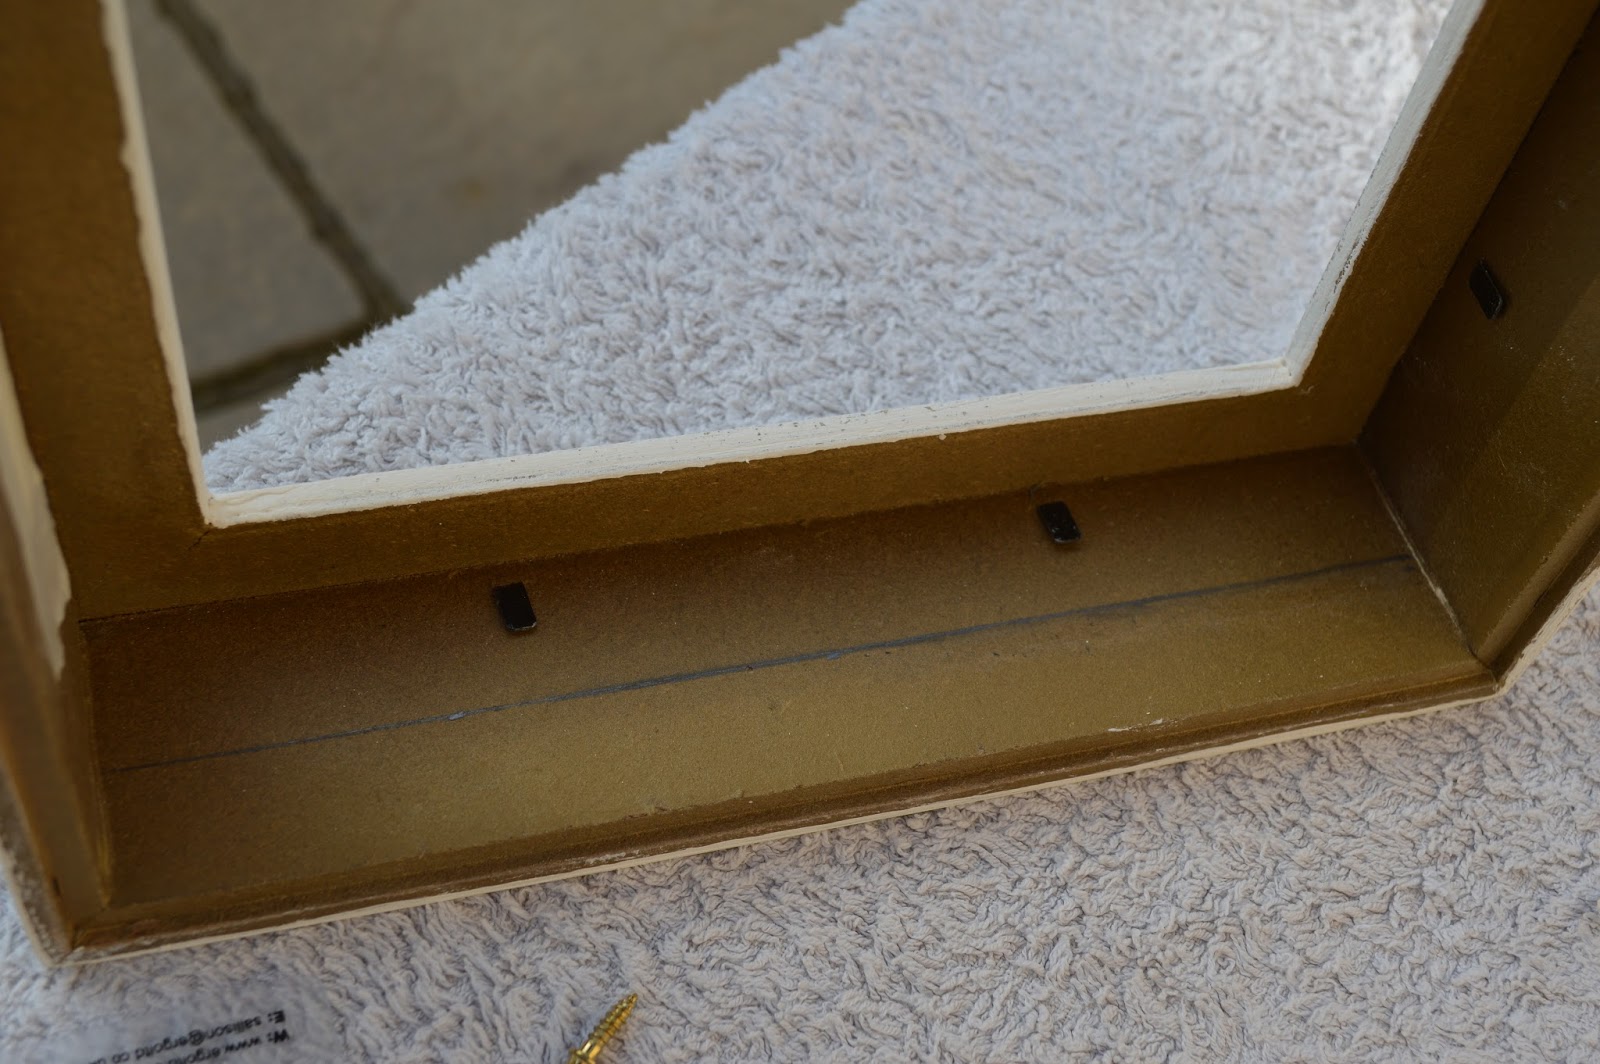
To put the hooks in, you'll need to measure where you want them to go, rather than just whacking them in willy-nilly! (I was going to do that but after how they went in when I measures, I'm VERY glad I didn't!) I put 3 hooks in, but if your frame is a different size, then add as many as you want/ you think will look good.
(At this point when writing, I clicked off the page by mistake and almost had a heart attack as I couldn't remember if I'd saved it! Gah! This information probably doesn't excite you that much, but I thought you'd like to know anyways!)

To actually screw them in (if you have screw in ones) then I'd suggest hammering them in a little way first and then, when they're in far enough, twist them the rest of the way. It may take a little while, and you may want to use a spare hook because mine ended up very bent out of shape!
By this stage, you should have a key frame! If you don't, then I'm not sure what happened! If you do have a key frame then cool, I'm glad my instructions were ok! *cry-laughing face from Facebook* Although, I'm sure there's something I've left out! I did forget to take a finished product photo! Dang it! I'll add it in in the morning.
I hope you liked this idea! See you next weekend!
Love, Grace x


No comments:
Post a Comment